My YouTube Video Production Process
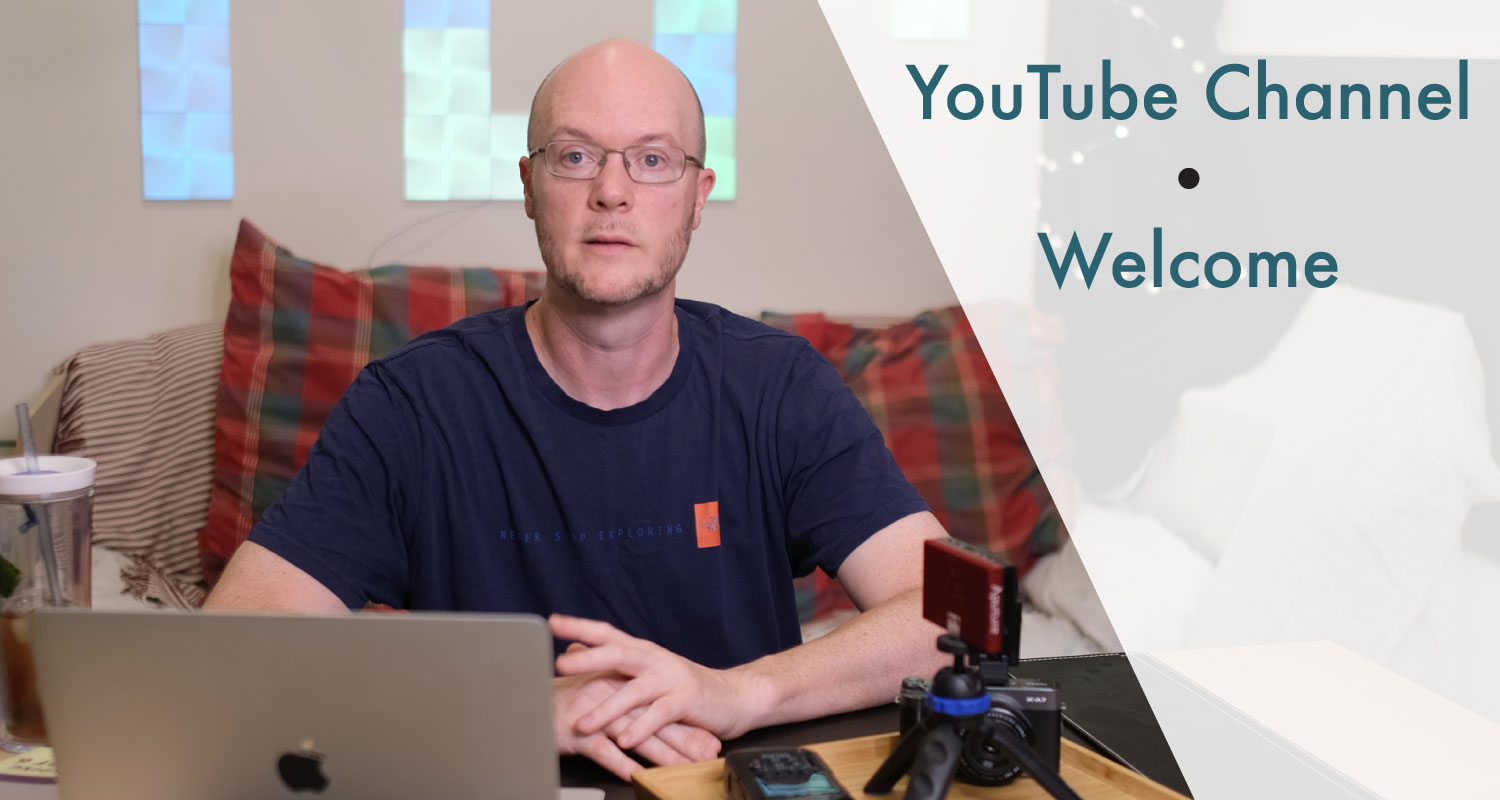
I’m branching out into the world of video production. I have a camera, some lighting, and a microphone - I’m ready to edit The idea is to produce some content for my YouTube Channel. The channel concept is found in it’s title - Gear, Software, Learn, Create - my focus on the creative process. This includes the gear and software - resources I use to create content. The learning process to gain skill to use gear and software. And finally, the actual process of creation.

The process of making the video included several different parts. First, there was the filming process, which included video and audio capture. I also prepared the lighting and scenery for the video. Next, there was the editing process, which included reviewing and selecting the best of what was captured during filming as well as adding in other video footage to add some variety. Finally, I edited the video - a long and intricate process - before uploading to YouTube.
The Gear
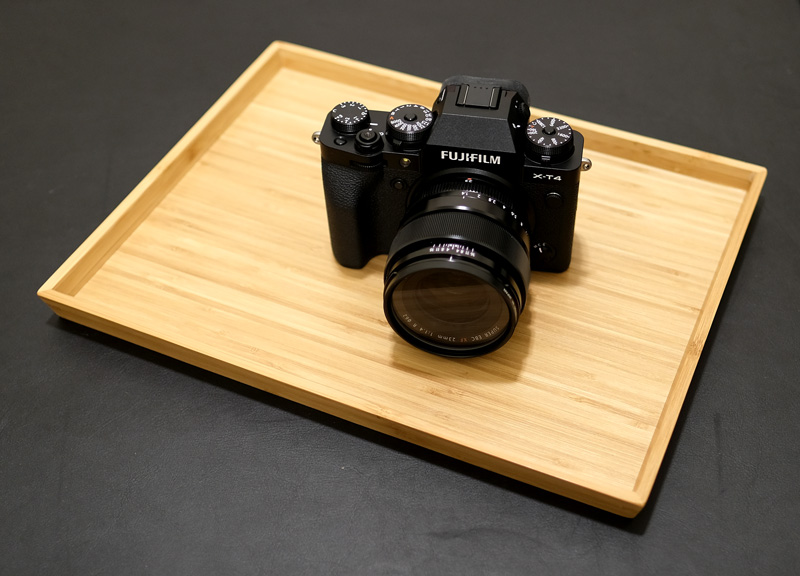
The filming process was done primarily using a Fujifilm X-T4 with a 23mm F1.4 lens. The great thing about this camera and lens is that it worked really well with the lighting. I used a ring light to brighten the room. I also setup the camera to film at 4K 30fps. The aperture was set to F1.4, so allowing in the most light possible. I also did this to soften the background behind me. I set the ISO as low as possible and the shutter speed to 1/60 second.

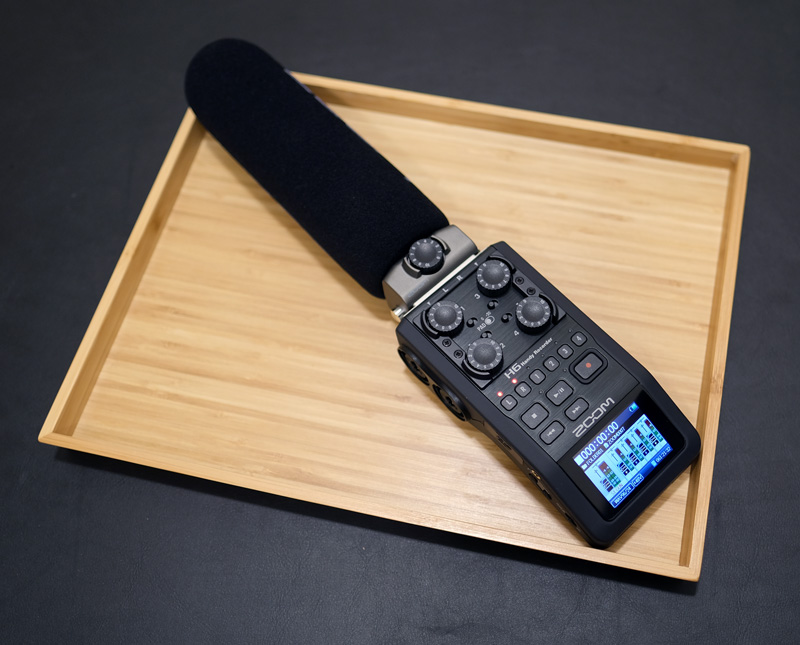
Capturing the audio was done with the on-board microphone with the camera for reference and a Zoom H6 Recorder with a SSH-6 Stereo Shotgun Microphone. This audio recording device was done at 96kHz / 24-bit. The audio was very high quality and even too sensitive - capturing the creaking of my chair during the filming.

The Software
The editing process was done with Camtasia 2020. Although there are other video editing software like Final Cut Pro and Adobe Premiere Pro, I chose to use Camtasia due to its ease of use and variety of editing features. I’m putting value on ease-of-use and speed of picking up the software over complexity found in other video editing software.
The great thing about Camtasia is that it offers many useful features like an easy way to add animations, title scenes, and stills. The software also has useful features to work with audio and adjust gain and reduce noise. Finally, the software has multiple tracks, which made it easy to layer and adjust video and audio quickly.
Putting it all Together
The process of recording wasn’t totally smooth. I had to contend with trying to turn on all the devices and begin recording. I also had to keep the shot clear, which I didn’t quite do - having part of a microphone in my main shot (I cropped out this part of the frame in editing). I also had the challenge of trying to film between a lot of noise being generated by my apartment neighbors. These are the type of odd challenges that aren’t expected, but sometimes can’t be easily avoided.
In the end, the process was fairly smooth all things considered. It was a good learning experience too, putting together the content capture and using the video editing software. The hope is that it’s the first of many videos to come.
